LifeSpace’s Guide to Indoor Seed Starting
Indoor seed starting is a rewarding way to get a head start on your upcoming growing season. It can seem intimidating for those who’ve never tried it, however I can guarantee with these tips- anyone can do it!

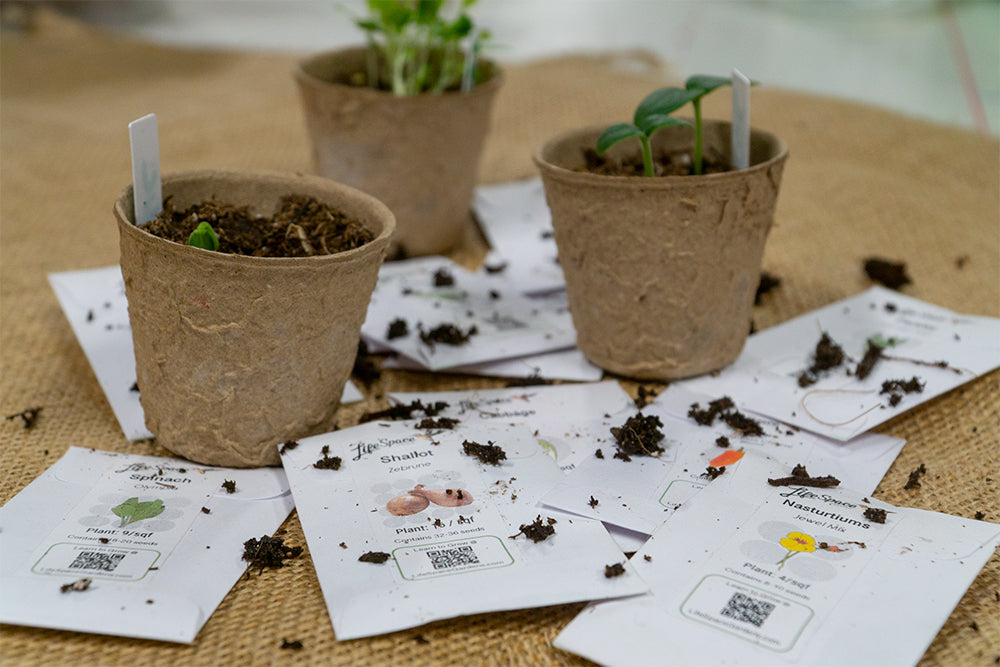
Step 1: Choosing the right container
Any small container with drainage holes will do, however, you may have more success with a container tailored to seed starting. I personally like to use fiber growing pots. I’ve started my seeds in 2” pots, which I plan to “pot up” into larger 4” pots as they grow.
Step 2: Growing Medium
Choosing the right soil is important for germination. Your best bet is to use a premixed potting soil. This recipe is already mixed for success with a blend of seed starting soil, peat moss, and vermiculite/perlite.
Before you transfer your soil into your containers, water your soil, and let the moisture absorb. The texture should feel like a wrung out sponge (not too wet, not too dry).
Step 3: Here comes the fun part - SEEDS!
You might have leftover seeds from last season, a box of new seeds to open, or an online cart full of LifeSpace’s Seeds ready to order! (insert link to seed page). The trick for starting seeds indoors is knowing what to plant when. This timing will influence when they get transplanted outdoors into your garden. Tomatoes get started indoors in early March, but don’t get transplanted outdoors until the end of May.
If you’re curious about timing, all seed packs have a timing window for starting indoors or direct sowing outdoors.
When to start indoors?

**Don’t forget to LABEL YOUR SEEDS! This will come in handy when it is time to transplant outdoors.
 Step 4: GERMINATION …. AKA the waiting game
- Don’t panic if all your seeds don’t sprout at the same time. Each variety has a different germination range. For example, peppers germinate in 10-21 days, and kale can sprout in as early as 7 days! Be patient with your crops!
- Keep the top of the soil moist as you wait for your seeds to emerge out of the soil. Try using a spray bottle / mister instead of a watering can, which can dislodge the seeds with an aggressive stream of water.
- Once your seeds have sprouted, the seedlings will require bright light to prevent them from becoming “leggy” (tall and spindly). A grow light is nice, however not completely necessary if you don’t have one. A more cost effective way to start your seeds would be to place them in a bright location like a South facing window.
- The first two leaves that emerge are the “seed leaves” aka (cotyledons), if you want to get fancy with the lingo. The next two leaves are considered the plants true leaves, which mimic the true pattern of the mature plants.
Step 5: Thinning Seedlings
Thin your seedlings keeping the tallest/strongest plant. Use a pair of scissors to thin, so you don’t disrupt the root system of the plants you are keeping. This step can feel hard to do, after all the love and attention you’ve put in so far. Keep your thinnings and use them as microgreens. They are delicious and packed with nutrients.
Step 6: “Hardening Off”
Your seeds have sprouted, and spent time indoors growing their first few sets of leaves. Once it is time to transplant, you will need to “harden off” your seedlings to prevent any transplant shock. Over a 3-5 day period you will leave your seedlings outdoors for an increasingly longer amount of time each day so they can get used to the natural elements.
Step 7: Transplanting Outdoors
Most crops either fall into two categories: cool weather and hot weather. Check with your seed pack to ensure you’re transplanting in the right window. For example, greens and herbs can get planted in the Spring and tomatoes, peppers, basil get transplanted in the summer.
If you need any help along the way, we are happy to assist you during a coaching session in person or online with our Garden Expert Heather.
