Self-Watering Gardens: Set up for Success in 4 Steps

Every year many people try to reimagine their yards, decks or small apartment spaces as backyard jungles or full scale vegetable gardens only to be thwarted by the intensive watering schedule necessary to keep plants alive during active Summer months.
On a hot Summer day, your garden needs water daily.
That’s why we developed our SIP.tech self-watering system. Think of how a natural water table works - water wicks from the bottom up! This process is known as sub-irrigation and is absolutely ideal for balancing the joys of a successful veggie garden with the business and challenges of day to day life.
Just fill up the reservoir and you're good to grow!

Sub-irrigation reduces watering from a daily chore, to a simple weekly task, greatly reducing water requirements and removing all guess work. Just keep an eye on the float gauge and watch your garden grow! Self-watering planters ensure you will have abundant fresh veggies, herbs and flowers with relative ease with simplified sustainable water use.
If you haven’t already built or bought a sub-irrigated garden you can check out our GardenWell sub-irrigation kits, our DIY Project Garden Box, or our stunning handmade CondoFarms.
Here’s what you need for the best start for your garden this Spring!
1. Finding & Mixing the right Soil
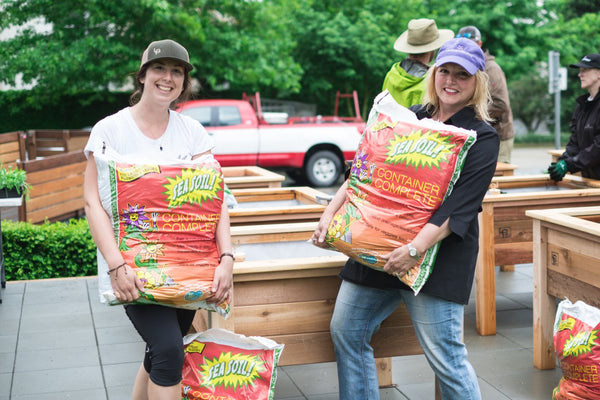
Key Ingredients: Peat Moss or Coconut Coir. Perlite or vermiculite. Organic compost or worm castings
Generally speaking, any high quality peat or coconut coir based potting mix will work. This can be found at your local nursery or plant supply store.
If you’re uncertain, or want to mix your own, an ideal mix will be:
- 1 part peat moss / coconut coir
- 1 part organic compost
- and 1 part vermiculite.
Other varieties or pre bagged potting mix will use perlite instead of vermiculite and have a higher ratio of peat moss. This is okay. What you’re looking for is a soil mix that is light and friable.
2. Installing the Soil
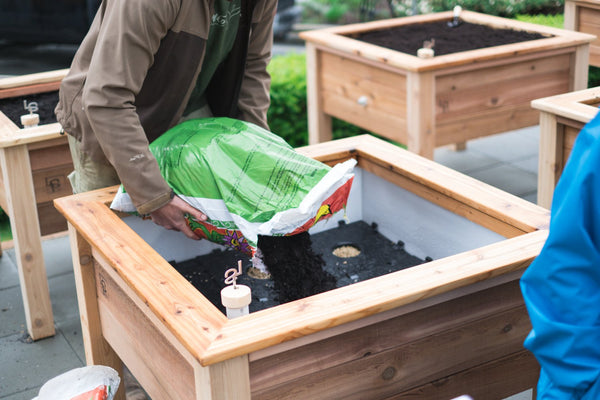
Before you start dumping soil into your garden, it is important to first prepare your reservoir with a wicking medium.
The GardenWells need a wicking medium to bring the water from the reservoir up into the soil. This can either be:
- Hemp wicks
- Pure Vermiculite
- Peat/Coir
- or The soil blend you are installing into the garden.
After your GardenWells have been prepared, you can fill the rest of your garden with the organic potting mix of choice. Now it’s time to water!
3. Watering Your Garden
Keeping your garden watered is easy (that’s the whole point) and something that should be part of an enjoyable weekly routine. Use a watering can or hose to fill directly to the reservoir of your self watering planter via the WaterStem.
If using GardenWells, or with a LifeSpace Garden you’ll know when your garden is full when the float stick is fully buoyant at approx. 3” up from cap, or when you get the first trickle of water out of the OverFlow valve.

All GardenWells hold 7 liters of water per square foot.
3a. When watering your garden for the first time
…or if you ever feel like the reservoir has dried out completely, it’s very important to moisten the soil thoroughly, by watering from the top.

Note: Soil by nature is aquaphobic. This means that if it’s dry, it wants to stay dry. For you and I, that means it needs help to get started. Think about putting a dry sponge on a spilt beer… a pre-moistened sponge is going to work a lot better.
1. To start, take a 7 litre watering can, or the hose of your choice, and water approximately 7 litres per sqf.
- As you’re doing this, you can gently mix the soil around to help expedite the process.
- A lot of the water will drain through the soil, and into the reservoir. This is okay.
2. Once the soil is evenly moist and ready for planting, you can fill up the rest of the reservoir via the WaterStem.

- The next day, you may notice that the water level in your reservoir will be lower. This is because the wicking process has begun, and the moisture level in your soil has reached it’s equalized and optimal level.
Don’t believe me? Read the back of any seed pack or potter plant tag. “Keep soil evenly and consistently moist” is what you’ll probably read. This is exactly what GardenWells do!
3b. Water Schedule
In Vancouver, our watering schedule over the last 5 years has been:
- once in April,
- once in May,
- 2 times in June,
- Weekly in July,
- Weekly in Aug,
- 1-2 times in Sept.
- For 12-14 times total per year

During July and Aug if we get a heat wave while the tomatoes, cucumbers and other heavily fruiting plants are growing in size, you may find the need to water more than once a week.
This may vary based on your location but has been tested over hundreds of gardens built and managed by LifeSpace Gardens, including gardens for Science World and the City of North Vancouver.That’s it! If you have ever tried to grow a planter garden you will know this is an amazing time, and water saver. I’ve personally had to water several times per day before discovering self watering sub irrigation gardening. Traditional watering wastes so much water as it evaporates at the surface level, rather than being already down where it is needed, at the roots.
For more information on how our sub irrigation SIP.tech systems work, click here.
4. Planting Your Garden
Seasonal planting is key, so is plant spacing and companion planting so your veggies grow friendly together! To learn what to plant when, and discover proper plant spacing and ideal planting combinations - check out our Garden Guide or explore our Garden Plans for some companion planting inspiration.

- To see our gorgeous pre-made hand crafted CondoFarm sub irrigated planters click here
- Want to know what to plant now? Check out our handy growing guides. We've broken it down month by month based on what to plant when. Click here to check out our monthly planner.