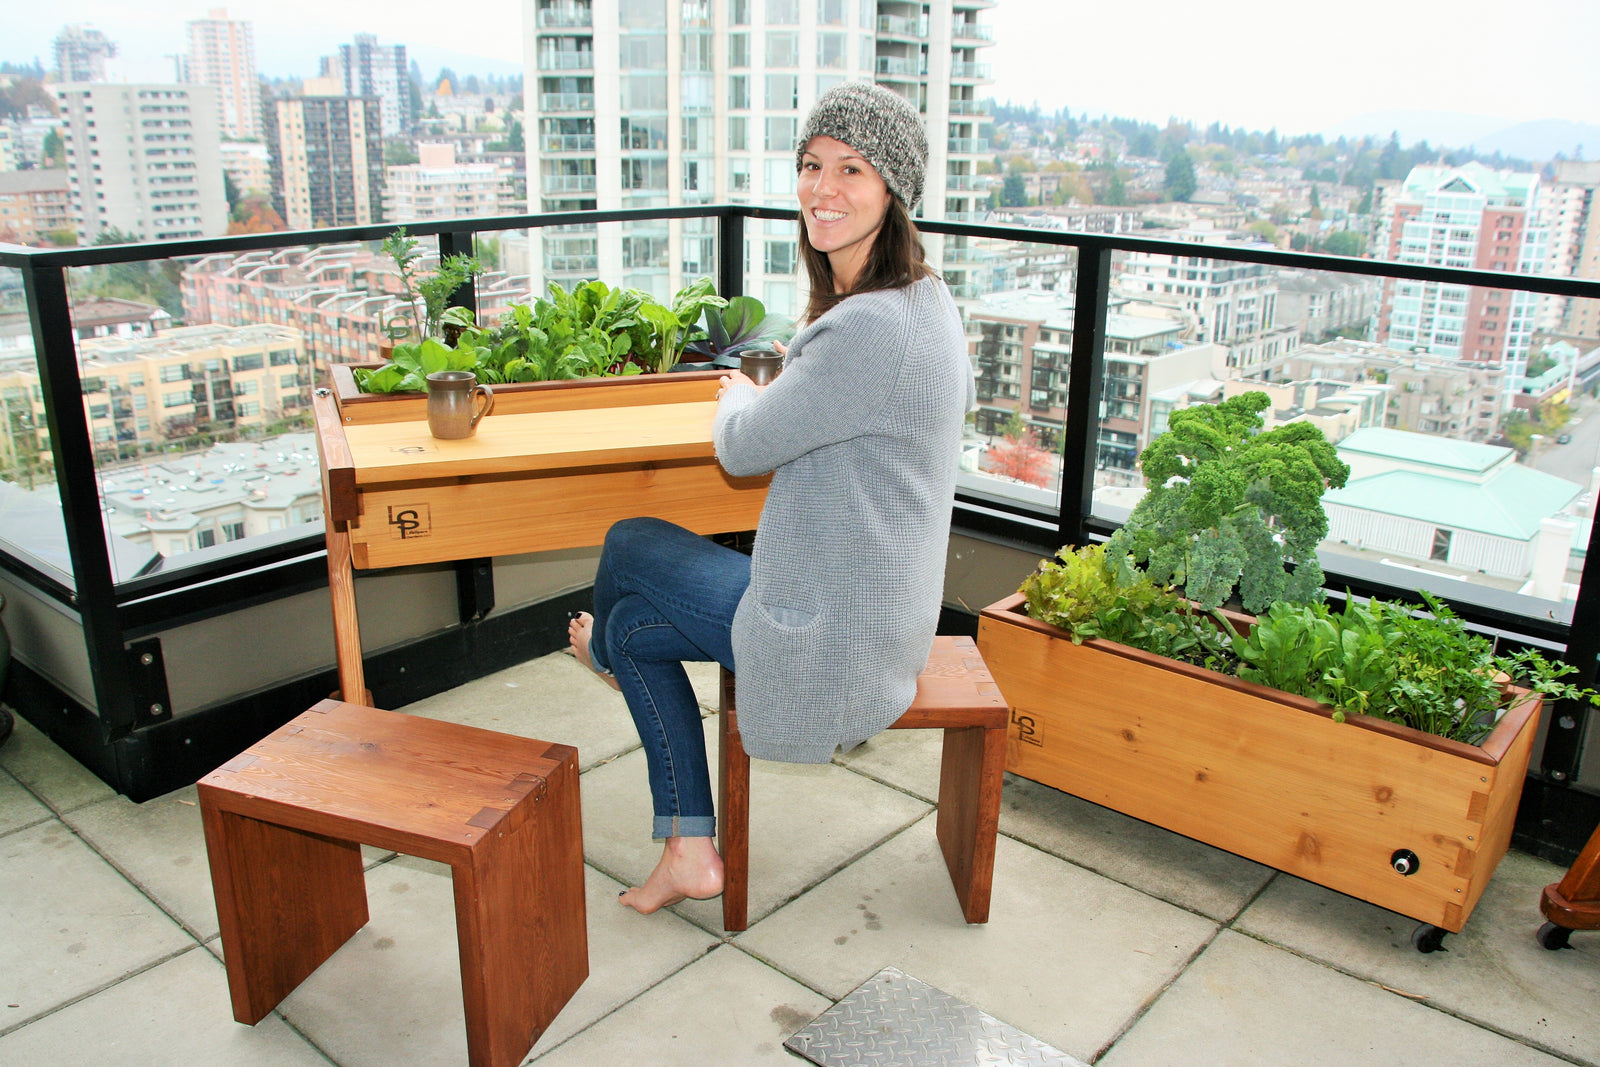
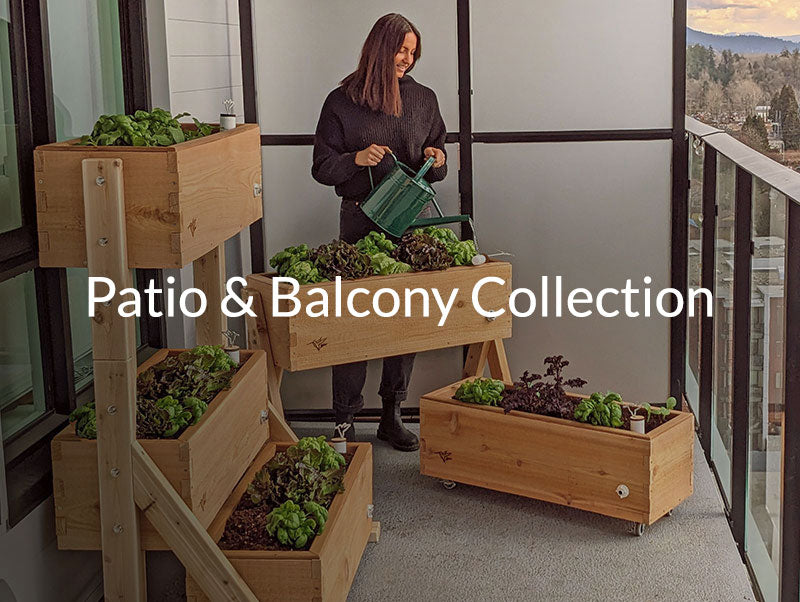
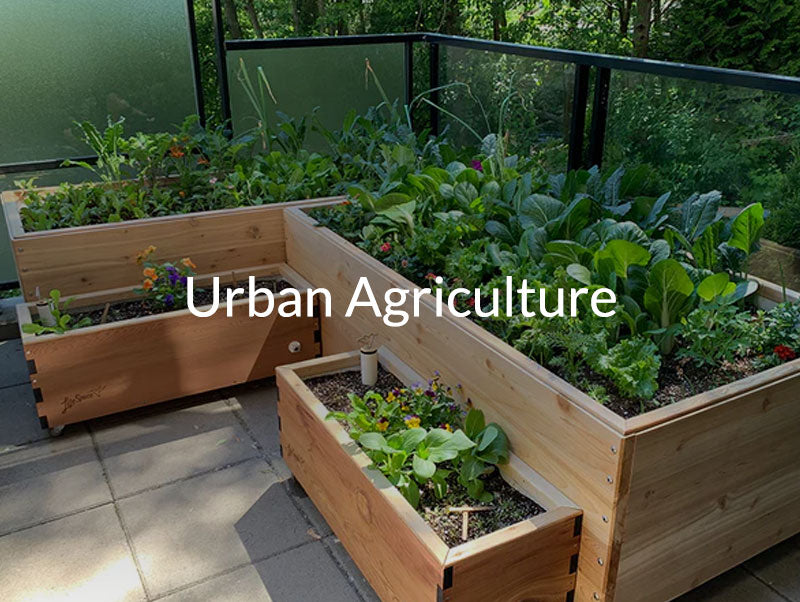
How to Grow Food on your Balcony: 4 Steps to Start Your Vegetable Garden

An Easy Start Guide to Growing Food in Small Urban Spaces.
(10 min read) By Wesley Hooper
Growing your own food is a lot of fun.
For your diet (taste and nutrition) and your health, there are few other activities that will have such a positive impact on your physical and mental well-being. It’s almost a scientific law that gardening will improve your lifestyle no matter who you are. If you factor in the significant environmental benefits, such as reducing carbon emissions, food waste, and packaging while also depriving Monsanto of income – it seems pretty straight forward that we should all probably be doing this?
Well, if all you’ve got is a balcony or patio, it isn’t exactly strait forward. You’ve got some challenges, but don’t worry, not only do we build the ideal self-watering gardens for your situation, but we’ve got all our growing experience packed in to 4 simplified Steps that’ll have you growing by the end of the article.
Step 1: Identify the Location
- You’ve got to get this one right. Good thing is if all you have is a balcony, you don’t have a lot of choice in the matter! What is important, is to identify how much sun your balcony receives. This will allow you to select the right veggies that grow with the right amount of exposure, and properly manage your expectations.
- To identify how much sun you receive, you can go old school, head out on your balcony during the growing season, use your imagination to trace the arc of the sun across the sky, see what’s in the way, and pull a pretty solid guestimation. Or, delete 38 images on your phone to clear some space to download an app to do the thinking for you. Sun Seeker is pretty good! Apple / Android
- If you receive 8hrs+ hours of sun, it’s ideal – you can grow anything. 6-8hrs will give you success with almost everything. 4-6 and you’ll do well with most herbs and leafy greens. Less than 4 hours and you should consider a grow light.
LifeSpace Tip: Consider the “bright shade” you receive. In urban spaces, this can be the sun reflecting off the surrounding windows. We’ve successfully grown veggies on North facing balconies without any direct sun because the reflections were so strong.
Once you know how much sun your spot gets, you’re ready to start planning your garden.
Step 2: Soil

Remember, if it’s true that “you are what you eat,” it’s also true that your veggies are what they eat. So don’t scrimp on the good organic soil. If you get the good stuff, you’re life will be easier, crops bigger, and harvests tastier. It’s worth every penny.
How to identify the best soil for self-watering planters?
- If you’re growing on a balcony, you’re going to be growing in a container of some sort, so make sure it’s a container blend. If buying bagged, this will often be printed front and center on the label. But if you’re buying bulk, it may be harder to identify.
- What you’re looking for, is a soil blend that contains a significant portion of peat moss or coconut coir. These two ingredients both perform the same function of increasing the water retention capacity of the soil, while also improving soil structure and friability – keeping things nice and loose. Combined with perlite – the little white bits in the soil that kind of look like Styrofoam but are actually a natural mineral that improves soil drainage and aeration – Peat/Coir form the ideal basis for a high quality container blend and are absolute mainstays. So if you soil doesn’t have one or the other, it’s a good sign it won’t be suitable for container growing.
- Obviously, soil nutrients are especially important too. We always recommend as many sources of high-quality organic composts and composted manures as possible. You may be restricted by what’s available in the pre-bagged options at your nursery, but if nothing else ask if they sell worm castings, because if all else fails, there is no better soil fertilizer than high quality worm castings.
Now that you’ve got your soil selected, we’re ready to talk plants.
Step 3: Plant Spacing and Timing
It’s really easy to go wrong with plant spacing. Everyone does it when they first start.
You get a pack of seeds, get super excited and plant them all – despite reading right there on the pack, that you should only plant 1 per square foot. I’m all for trying to maximize garden space, but 32 tomatoes planted in one patio planter just isn’t going to work, and if you’re going to abuse the guidelines, be a little more moderate. Plants need enough space to properly flourish, and if you over plant, all your pretty seedlings will overly compete for sun, nutrients, and water, and all will suffer.
- To get optimal plant spacing, we’re huge proponents of the Squarefoot Garden Method. Instead of traditional row style planting used in farmers fields, The Squarefoot method encourages you to conceptualize your garden by – you guessed it – the squarefoot. This simple change allows you to optimize much more of the space in your planter box, raised bed, or LifeSpace Garden.
- For example, spinach. Instead of spacing spinach 3-4” in rows 18 inches apart – you can plant 9 per squarefoot, and because you don’t need to walk between the planting rows, you can simply have 3” spacing in all directions.
- As for timing, you’ve got to get this one right too! Luckily, we’ve got each month broken down into the veggies you can start indoors, and the veggies you can direct seed outside. You can also click on the individual veggie, and you’ll get detailed info on plant spacing and other tips and tricks!
Step 4: Water

Water. What can we say… if your garden fails, 80-90% of the time it’s due to water. Not enough, too much, not frequent enough, or too often. If you don’t have a lot of experience, that’s a lot of guess work. You wouldn’t be the first person to have a lush garden growing, only to go away for a weekend and come home dried up and wilted destruction. It can be a little heart breaking.
Also, if you’re growing on your balcony or patio – getting water out there can be a bit of a pain, and also quite messy. So it’s a challenge, and during the summer you’ll be watering every single day… unless there is a better way?
What is the best way to water your vegetable garden you ask?
One that eliminates the mess and the guess work, while reducing water consumption by up to 80% and frequency from daily to weekly or less? It’s called Sub-Irrigation, and it’s amazing.

How does Self-Watering Sub Irrigation work?
- By mimicking the natural water tables found in the most abundant growing environments – sub-irrigation provides water consistently, evenly, and naturally – so that your plants are never stressed and can truly thrive in reaching their full potential. It’s very simple. With soil on top and a hidden reservoir underneath, water wicks up into the soil via capillary action. It’s the same principle as placing a sponge on a spilled drink. Leave that sponge there and it will soak up the liquid all on it own – same with the soil in a sub-irrigated garden.
- We call all of our sub-irrigated LifeSpace Gardens self-watering gardens, because the soil and plants regulate themselves. All you have to do is ensure there is water in the reservoir, and it will wick up evenly and naturally and often last for weeks at a time. There is fill up tube that allows you to water directly to the reservoir, and a cool hummingbird float gauge that indicates how much water is in the reservoir.
With a LifeSpace Garden, your garden tasks are simplified from a daily chore to a fun weekly routine. No more mess or guess work. Way less water, and you can go away for the weekends without water worries. Healthier plants, and a thriving garden that does 80% of the work for you.
Summary
Growing food on your balcony or patio IS something everyone should be doing. Yes there are challenges, but the benefits are amazing. For many people in cities, there is a deep desire to reconnect with nature in meaningful ways, and there is no more meaningful way than growing your own food.
At LifeSpace we’ve been dedicated to helping people make this connection. We hope that one of our handmade self-watering patio planters or balcony garden boxes will help you successfully integrate growing your own food into your Lifestyle so you can harvest the benefits for Lifetime!


